How to install Apache
Apache is an open-source software which might be neccesary for some applicitations of the Ozeki Phone System. If you are unsure how (or from where) to download it, or you have any difficulty with the installing process, please read this guide and find the answers to your questions.
What is Apache?
The Apache HTTP Server is a powerful and flexible HTTP/1.1 compliant web server. Originally designed as a replacement for the NCSA HTTP Server, it has grown to be the most popular web server on the Internet. If you want to design programs, you do not only need to have a handler in the desired programming language, but it is also required to have a web server. So, our browser could communicate directly with the commands. Apache is a very common web server, since it is used for Windows and PHP, as WAMP (Windows, Apache, MySQL and PHP) refers.
How to install Apache:
|
Step 1: Download Apache Step 2: Provide server information Step 3: Install and start to use Apache |

Step 1 - Download Apache
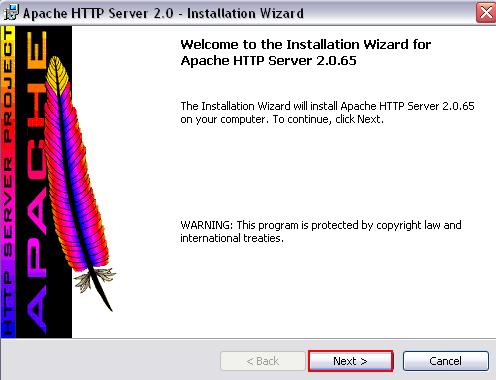
First, download Apache from its website. Then run the .exe file and click the Next button (Figure 2).
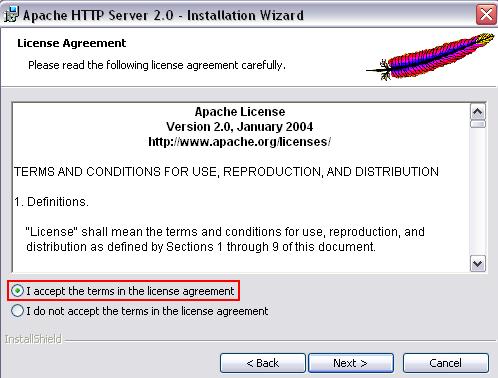
After, at the next window, read the Terms and Conditions, and click "I accept the terms in the license agreement", click on the Next button (Figure 3).
Step 2 - Provide server information
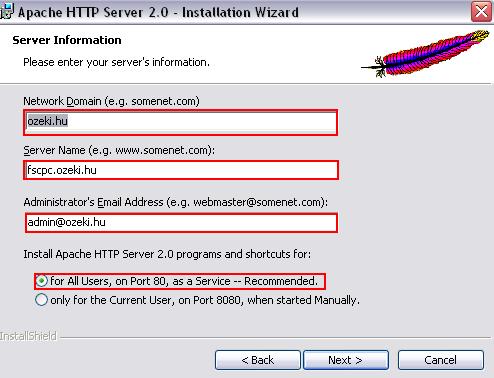
Next window, add your network domain, server name and the e-mail address of the administrator (Figure 4). Since this will be a test server, you can enter whatever you want, but it is useful to use computer network name as server and domain, so you can access to Apache from other computers. Then choose, whether only you are able to use it, or anyone, who access to the PC. It is also suggested to choose the recommended one. However, if you have Windows 98/ME you cannot do this, because your system will not allow services.
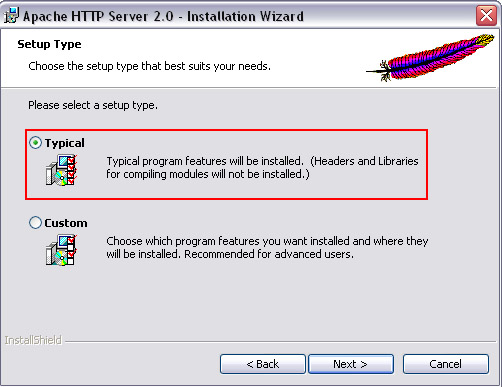
Now, you can decide whether you would like to setup the Typical or the Custom features (Figure 5). Use custom features only if you are an advanced user. Press Next, to continue the installation.
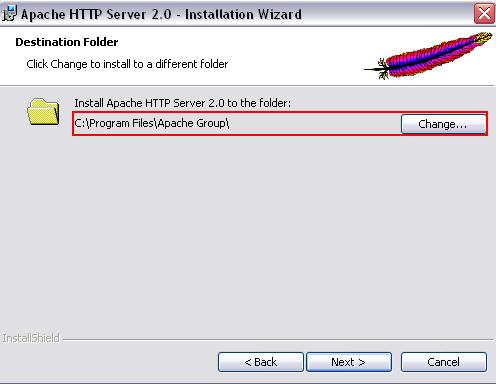
It is possible to give the destination folder of Apache (Figure 6). You can choose where you would like to setup.
Step 3 - Install and start to use Apache
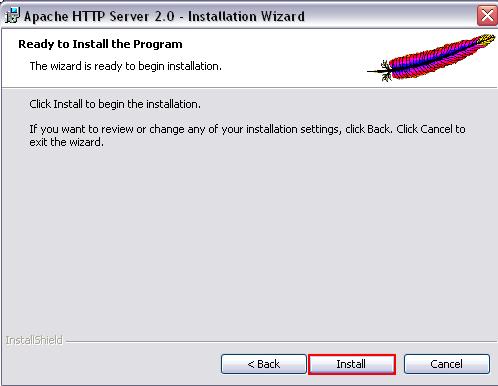
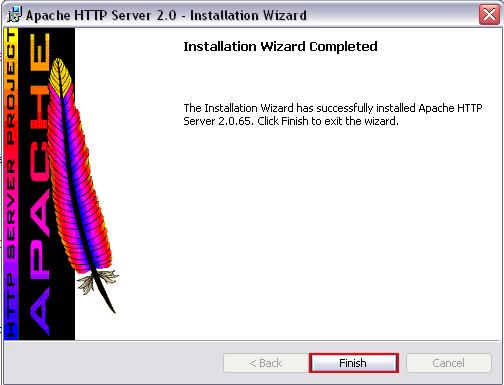
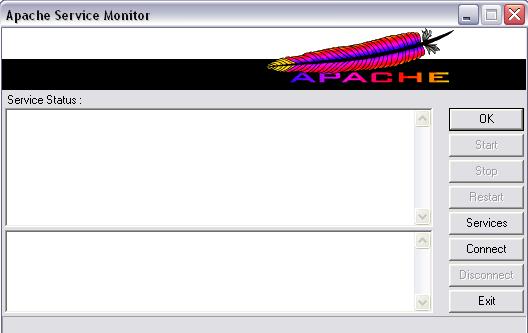
After clicking Install and Finish button,(Figure 7, Figure 8) if all goes well, the Apache service will be started and you will notice a new icon in your system tray: the Apache Service Monitor.
You are ready now! Apache is working on your PC (Figure 9). You can start, stop and restart it from the right hand side of your tray, with the Apache Service Monitor icon. Once Apache successfully starts, go to your browser and type localhost or 127.0.0.1 in your address bar, it is your PC loopback IP address.
Keep in mind
Released under the Apache License, Apache is open-source software, which supports a variety of features. Apache is supported by for example Perl, Python, and PHP. Although usually it associated by PHP (refers to WAMP, as it was mentioned above).
If you have any questions or need assistance, please contact us at info@ozekiphone.com
