How to setup an SMPP IP SMS connection
with the Ozeki Phone System
If you would like to send a few hundred SMS messages per second or want to be able to modify the phone number of the sender, even modifying it to your company’s name, then an SMPP service is your best option. You only need to sign an agreement with an SMPP provider and connect the provider with the Ozeki Phone System XE. Then you can send and receive SMS messages with the PBX. This guide will focus on how to connect the Ozeki Phone System to an SMPP server.
Let's learn how an SMPP workflow works. First the message is sent through the internet from the Ozeki Phone System to the SMPP server then the SMPP server sends it to one of the global GSM carriers which sends it out to the target number in the form of an SMS message.
In this guide you can read about the following:
Step 1: Login to the Ozeki Phone SystemStep 2: Setting up an SMPP connection
Step 3: Setting up Dial plans
Step 4: Sending a test message

Step 1. Login to the Ozeki Phone System
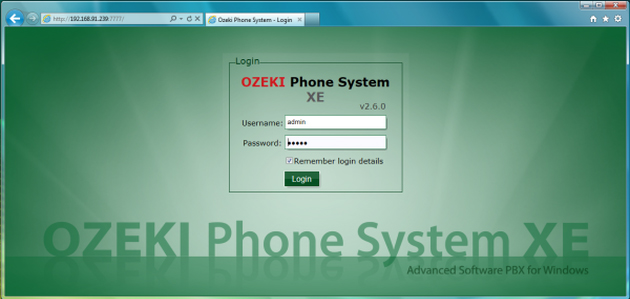
First of all, open the Ozeki Phone System, in a web browser, and login with your username and password (Figure 1).

Step 2. Setting up an SMPP connection
On the following screen, click on the Add button in the Outside line section (Figure 2).

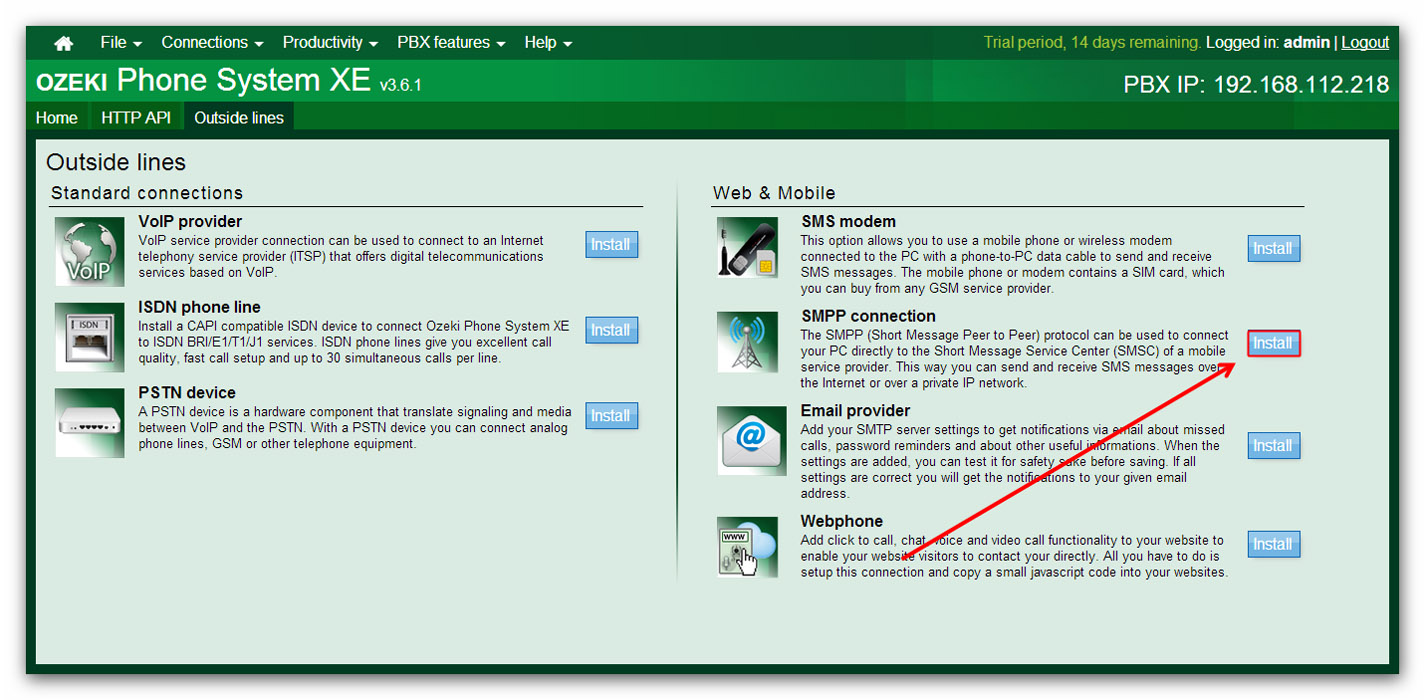
Then click on the install button next to the SMPP connection row (Figure 3).

On the next page of installation (Figure 4), you need to give some data related to the SMPP connection.
- Firstly, specify the Telephone number and assign a Service provider name to this connection.
- Secondly, specify the SMPP server settings.

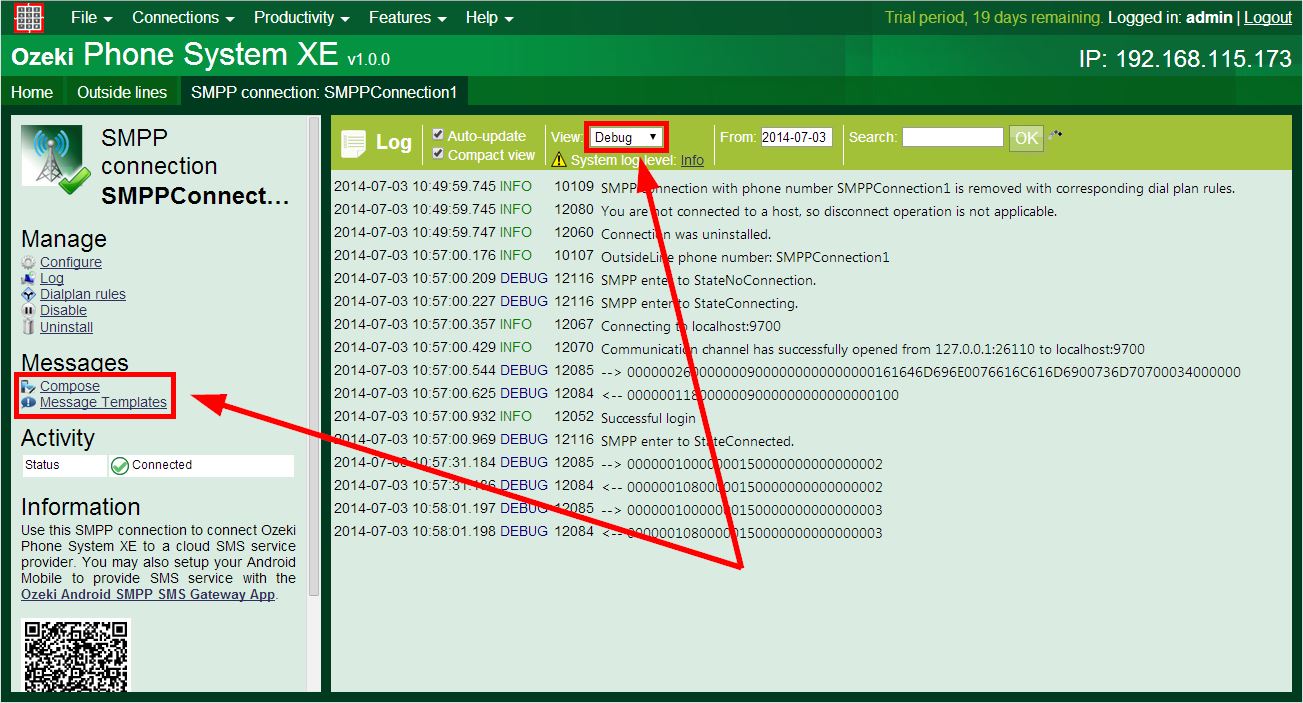
On the Figure 5 you can see the created SMPP Connection. You can set the log level to Debug, and you can see that your connection has been created successfully. You are also able to track the information of inbound and outbound messages.

Step 3. Setting up Dial plans
Step 4. Sending a test message
You are able to track information about your test message in the SMPP Connection log:

Conclusion
This guide can be useful for anyone who wants to connect the Ozeki Phone
System XE to an SMPP server by setting up an SMPP server connection.
You should never finish anything without testing first, so do not forget to
make a send a test message as your last step.
If you follow this guide step-by-step, you should be able to do that fast and easily.
If you have any questions or need assistance, please contact us at info@ozekiphone.com
People who read this also read...
