How to setup Ozeki Phone System with 3CX Phone System
This guide shows how you can connect Ozeki Phone System to your 3CX Phone System. This solution gives you a brief explanation about how you can configure Ozeki Phone System to start building your own application.
Ozeki Phone System uses Voice over IP to establish phone calls. Using VoIP technology is less expensive than traditional phone services. With Ozeki Phone System you can view your registered phone line, and your active phone calls. You can establish calls using Ozeki Phone System.
This configuration guide demonstrates how you can connect Ozeki Phone System to your 3CX Phone System.
System architecture
If you follow the configuration guide, you will have a telephone system that works as follows: First, create an extension in your 3CX Phone System. Ozeki Phone System will connect using this created extension. Once Ozeki Phone System Studio is connected, you can start your calls. The destination phone could be a VoIP phone, a land line phone, or a mobile phone. You can see this process in Figure 1.

- Ozeki Phone System registers to 3CX Phone System
- The call will be forwarded to 3CX Phone System using the created extension
- The destination phone will be ringing
- You can start talking using the Phone System.
Configuration steps
Before you start to configure this solution it is assumed that you have already installed your 3CX Phone System, and downloaded Ozeki Phone System XE installer from the download page.
Step 1.) Configure 3CX Phone system
Install your 3rd party PBX on your computer or virtual machine. More important to realise that your PBX and Ozeki Phone System should be in the same local network. Start to install and add your local IP address which also use by default.
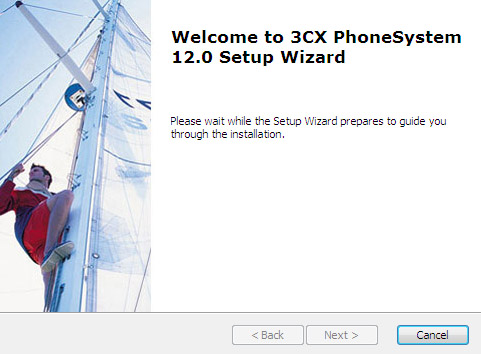
Step 2) Create a SIP account
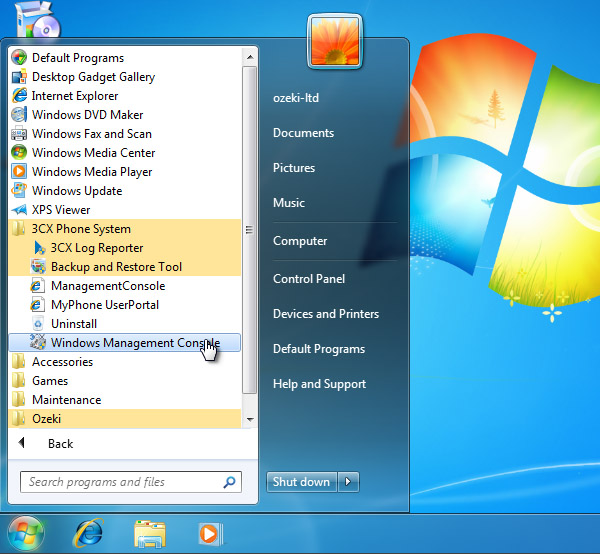
First of all, your 3CX Phone System needs to be configured. Click on Start menu, expand the 3CX Phone System folder, and click on Windows Management Console (Figure 3).
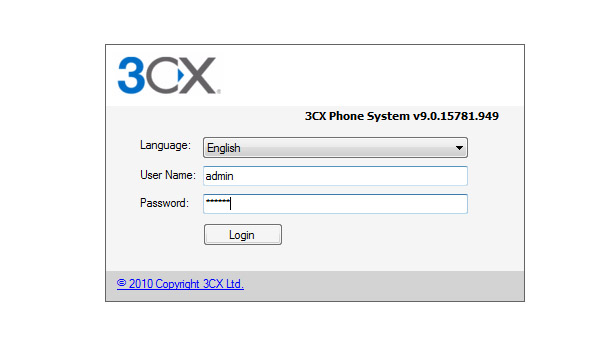
Once it is started, enter as an administrator. Provide your user name and password in the respective fields (Figure 4).
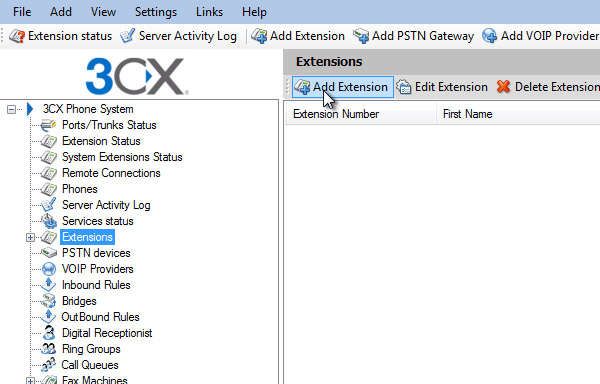
After login, click on "Extensions" in the navigation menu, and click on "Add Extension" in the "Extensions" panel (Figure 5).
Fill the "Extension Number" field, provide an ID and a Password in the Authentication group (Figure 6).
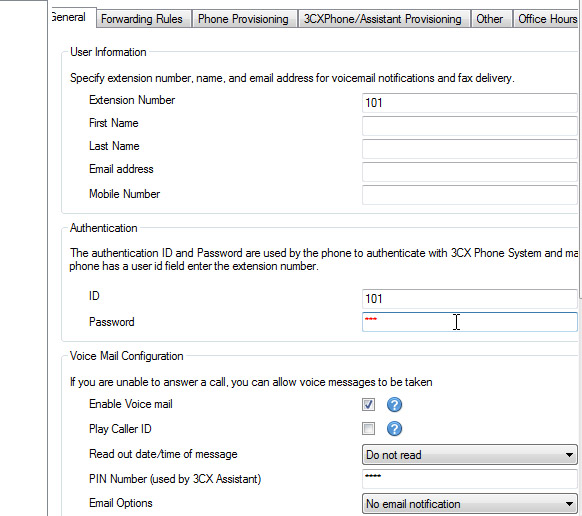
To save your settings, click on OK.

Now the configuration of 3CX Phone System is done, and you can configure Ozeki Phone System.
Step 3.) Configure Ozeki VoIP provider to use the created SIP account
If you have any questions or need assistance, please contact us at info@ozekiphone.com
Dig deeper!
People who read this also read...
